
Safari Photography Tips
Once you have booked your safari, in addition to obsessing over what to pack, chances are you will start considering what type of photography equipment you need. Most of the information that you are going to find on the internet is geared towards professionals, serious enthusiasts, or those who have some photography experience. For the average safari-goers, who have only used their camera’s automatic settings, I would recommend a Digital Single-Lens Reflex (DSLR) camera and a telephoto lens (300mm lens minimum, 400mm or larger preferred). Whatever you do, do not rely on your smartphone. But before you go out and spend thousands of dollars on new camera equipment, consider borrowing a DSLR from a friend (seemingly everyone I know has one collecting dust in the back of a closet) and rent a decent telephoto lens. Remember those lenses are bulky and will add significant weight to your luggage. If you are doing any bush flying (going camp-to-camp) on a small plane where there is a 40kg baggage weight limit, this becomes a serious consideration. Take a class, practice shooting in your yard, and familiarize yourself with your camera equipment. You don’t want to spend your entire safari looking down at your camera.
Now that you have a camera and a lens here are my safari photography tips from one amateur to another.
Shoot in aperture priority mode
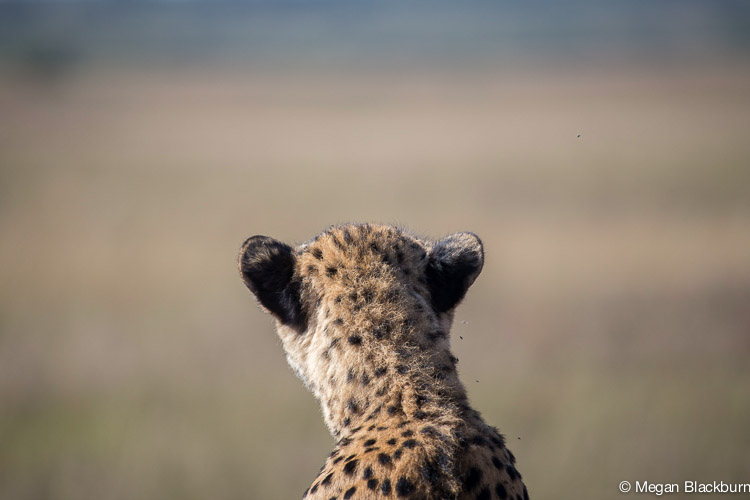
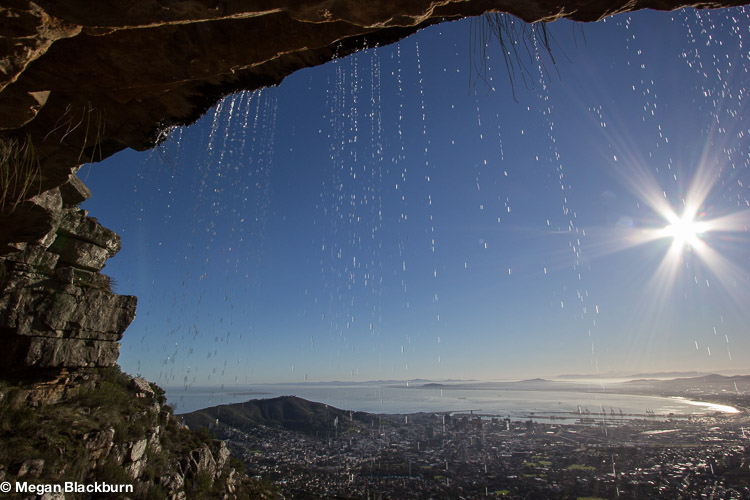
Your DSLR can do a lot of fancy things and while you don’t need to know how all of the settings on your camera function, for safari wildlife photography you will want to learn how to shoot in aperture priority mode. Many people are terrified of moving the dial from automatic, but even a novice will get some great images by making this one small adjustment. I am going to over-simplify a rather technical process here. Shooting in aperture priority mode allows you to control your depth of field. At lower f-stops, less of your image will be in focus and at higher f-stops more of your image will be in focus. Look at the two photos below. The first one is shot at 400mm and f/5.6. The background is faraway allowing a nice blurred background. (This effect is easier to achieve with a long lens – more on that below). The second image of Cape Town was shot at f/16. By comparison, you can see that most of the photo is in focus.
Now that you understand the basics, open your aperture wide (small number). I generally shoot at f/5.6 (which is the widest aperture on my long lens) or f/6.3. With a large lens this allows me to blur the background and makes the subject stand out. Long lenses have shallow depths of field so you do need to be careful, especially if the animal’s body or eyes are not on the same plane. It is easy to have one eye in focus and the other out of focus. Also, be cognizant of your shutter speed in low light. It is difficult to handhold at less than 1/60s and that is only if the animals aren’t moving. If the animal is moving, you are going to want to make sure that your shutter speed is even higher to ensure that you are able to stop action. Get to know your camera equipment and the limits of your camera body/lens combo. I know it’s a lot to think about, but if you do nothing else, shoot in aperture priority mode.
Adjust your ISO
You will often be shooting in low light. You already have your aperture opened wide (which lets in more light), but even with a wide aperture your shutter speed might be too slow. What to do? Adjust your ISO. When leaving on morning drive, I often already have my ISO set at 1600 or 800 depending on the time of year. In winter I usually start at 1600 and summer at 800. I generally don’t like to push my ISO higher than 1600 unless what is happening is incredible because I feel the image quality denigrates. As the sun rises, I adjust until I am down to ISO 400 or 200.
Focus on the eyes
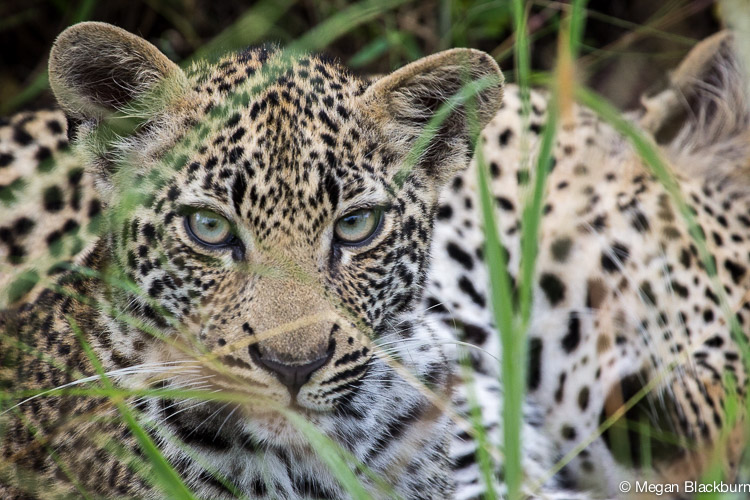
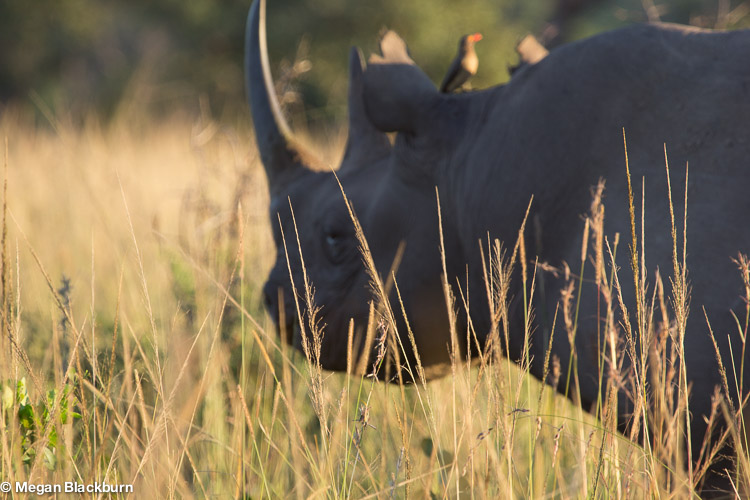
Like portraits of people, focus on the eyes of what you are shooting. This is harder than it seems, especially when there is a lot of foliage in the way. It is easy to accidentally focus on a branch. See the rhino photo below where I focused on the long grass and consequently my subject is out of focus. Depress the shutter release halfway and pay attention to where your camera is focusing. Lastly, be patient and hopefully that bird will turn its head or the lion will open its eyes and stare directly at you.
Zoom in zoom out
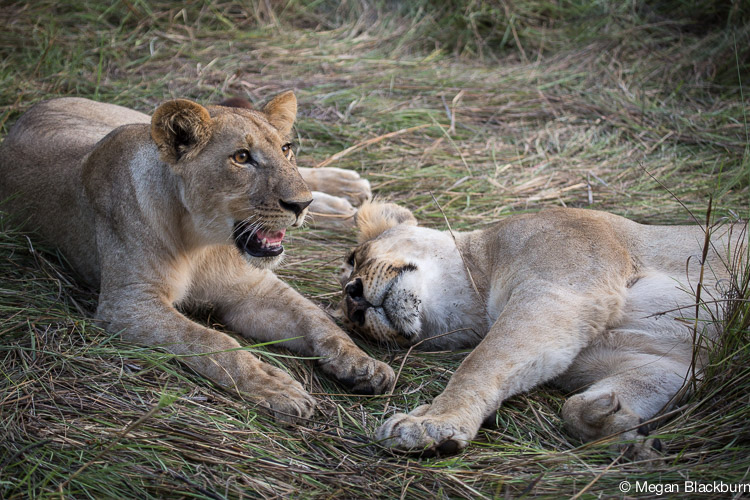
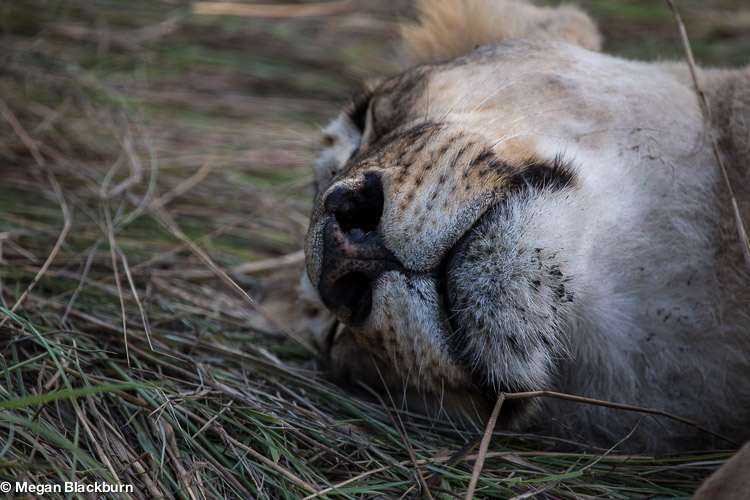
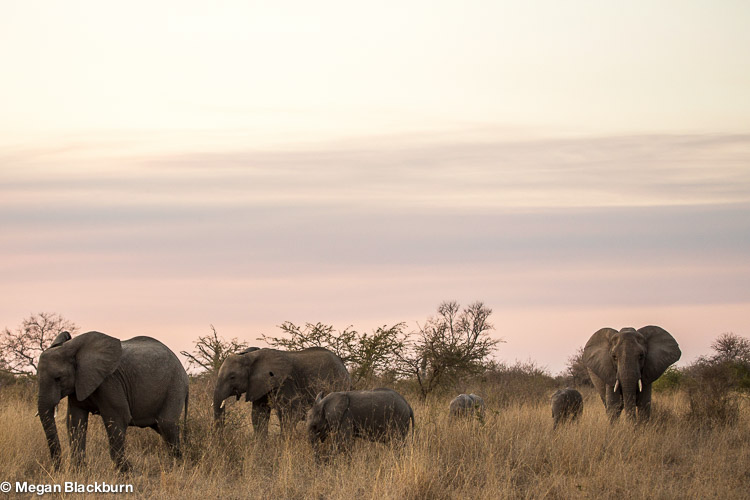
A general rule in wildlife photography is to fill the entire frame with the animal or bird. These images minimize dead space and provide an incredible amount of detail, but doing this often doesn’t tell a story or make your photos particularly unique. Experiment and zoom in on a pattern, an eye, or a paw. The first photo of the two lionesses is fairly boring, but when you push in on the lion’s sleeping chin the photo is much more interesting. Zoom out to capture the entire moment. We came across this breeding herd of elephants at sunset. The zoomed out photo accurately captured the hazy pinks and purples of the sky. The photos where I isolated one or two elephants lack that incredible sky and somehow don’t feel like an accurate reflection of what I remember.
Be ready
Sometimes you won’t have much time to set up, which is why you should make sure that you prep your camera before you leave on drive. Make sure you have your lens cap off and that you have your aperture set wide, and keep adjusting your ISO as the sun rises or sets. If you decide to over or underexpose an image or change your aperture to f/11 to capture a landscape, change it back to your base settings before you drive off. I can’t tell you the number of times I inadvertently started shooting something only to check my LCD monitor and notice my mistake. In the first photo below I forgot to adjust my camera setting after underexposing images from the previous drive. The previous drive! What a silly mistake and one that can be fixed post-production, but you should always aim to get a proper photo in the moment.
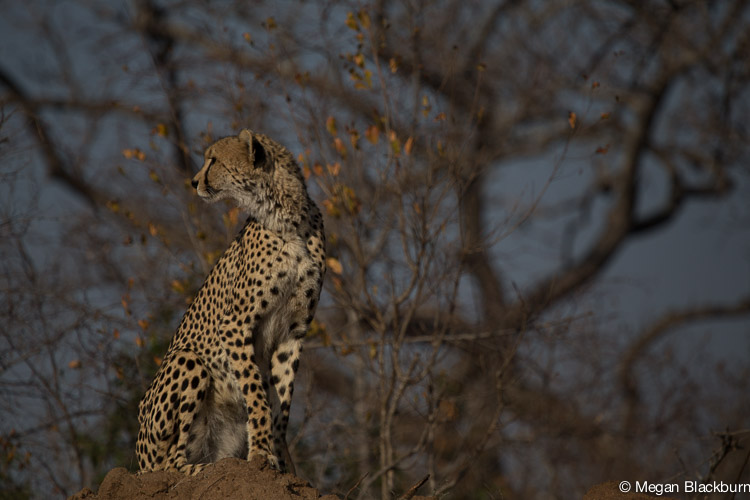
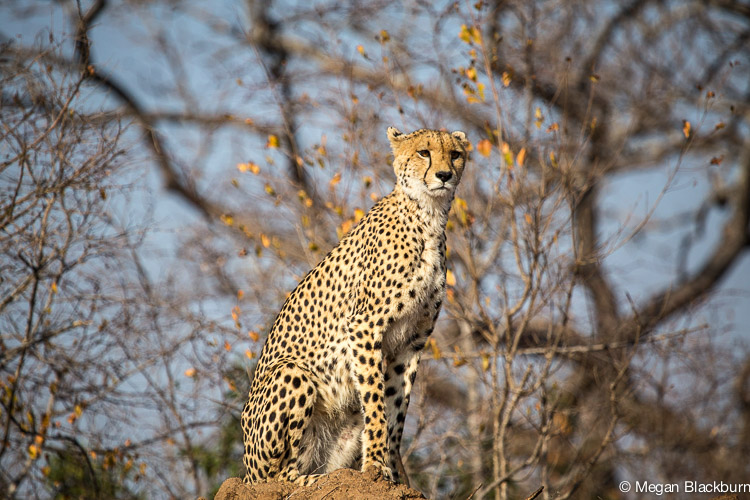
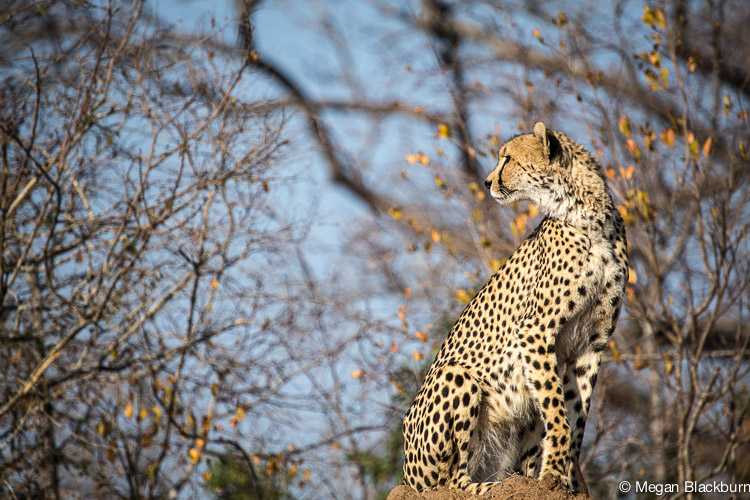
You may sit and watch an animal for an hour or longer and the action will take place in the span of 10 seconds. Always have your camera ready and prepped on the settings best suited to catch the image. Anticipate what the animal might do and start composing the image in your head. Most safari guides will talk through animal cues and will often give you a second’s notice that that lion is going to yawn or that the leopard is going to jump from the tree. Remember the rule of thirds. Images that are pleasing to the eye are generally not those placed in the center of the frame. Think of dividing your screen into vertical and horizontal thirds and placing the animal you are photographing off center. In the second image below, the cheetah is in the centre of the frame. The image is boring and less pleasing than the third image where the cheetah is to the right side of the photo.
Check your images
Your LCD monitor is your friend. Check it to make sure you are happy with the image you captured. Make sure to zoom in on the image you captured on the LCD monitor to ensure it is sharp. Nothing is more disappointing than downloading an amazing photo on to your computer only to realize it isn’t crisp.
Set your camera down
It is easy to get caught up in getting a perfect image. Remember that you are not a National Geographic photographer and unless you are incredibly lucky, you are going to miss the money shot where the cheetah that is running 61 mph catches the impala. Yes, this happened to me. Put the camera down and enjoy the moment. This is something people rarely experience and you don’t want to miss a moment while staring through the back of a viewfinder. Trust me.
Camera equipment
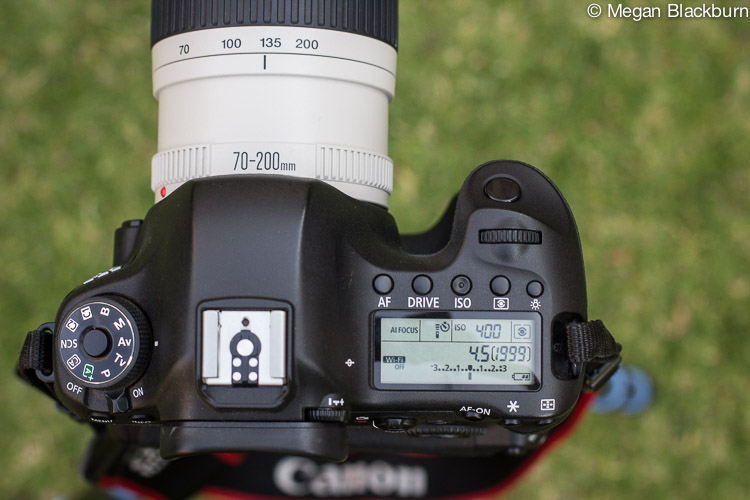
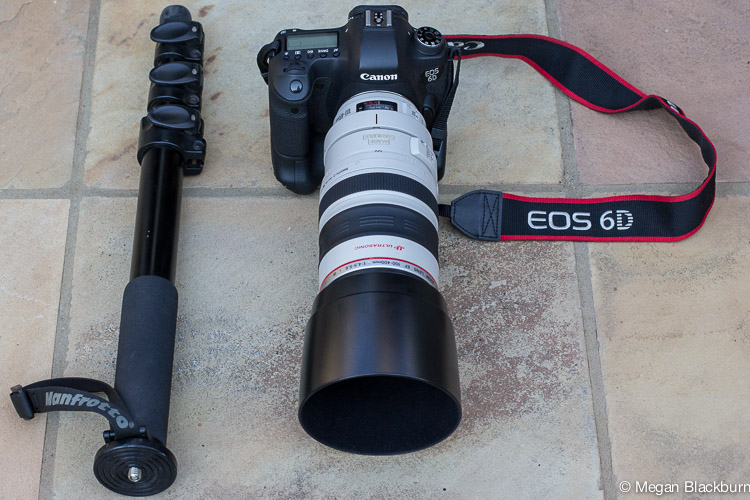
I carry loads of camera equipment, more than I usually need. I shoot the majority of my wildlife photos on a Canon EOS 6D and EF 100-400mm f4.5/5.6 L IS USM lens. I also use a Manfrotto monopod to minimize camera shake and because my arms ache if I handhold for too long. This combo is relatively lightweight and offers a lot of flexibility for an amateur photographer. I also always travel with a wide angle lens on my Canon EOS 60D. I have a point and shoot camera, a Panasonic Lumix LX 100 with a Leica integrated lens, that I use for photos of drink stops, friends and family, and the lodge. Always be prepared. I carry extra camera lenses, batteries, plastic camera covers, memory cards and lens cloths. Now you understand why my camera equipment weighs more than my clothes.
Although I did film photography in high school, that was eons ago and I never photographed wildlife which requires a different set of skills. The tips here are ones that I gleaned through trial and error or by asking photographers unending questions. I make a lot of mistakes while shooting, but I always aim to improve. I hope that these tips will help you avoid some common mistakes and to make some basic (non-scary) adjustments that will vastly improve your photos.
Enjoy your safari and happy shooting.


I love this one! I also think that you have captured some truly phenomenal images.
Thanks Sara!
Great explanations. And even though they are not going on safari, I’m hoping to use this for my class.
Another great post. Thank you.
Excellent post. You and I use the exact same setup. Right down to the LX100 for point and shoot. Thank you for the excellent article. Headed to Tanzania next week!
I am glad you enjoyed the post. Enjoy your trip to Tanzania.